17 Mar Chicken Bone Broth
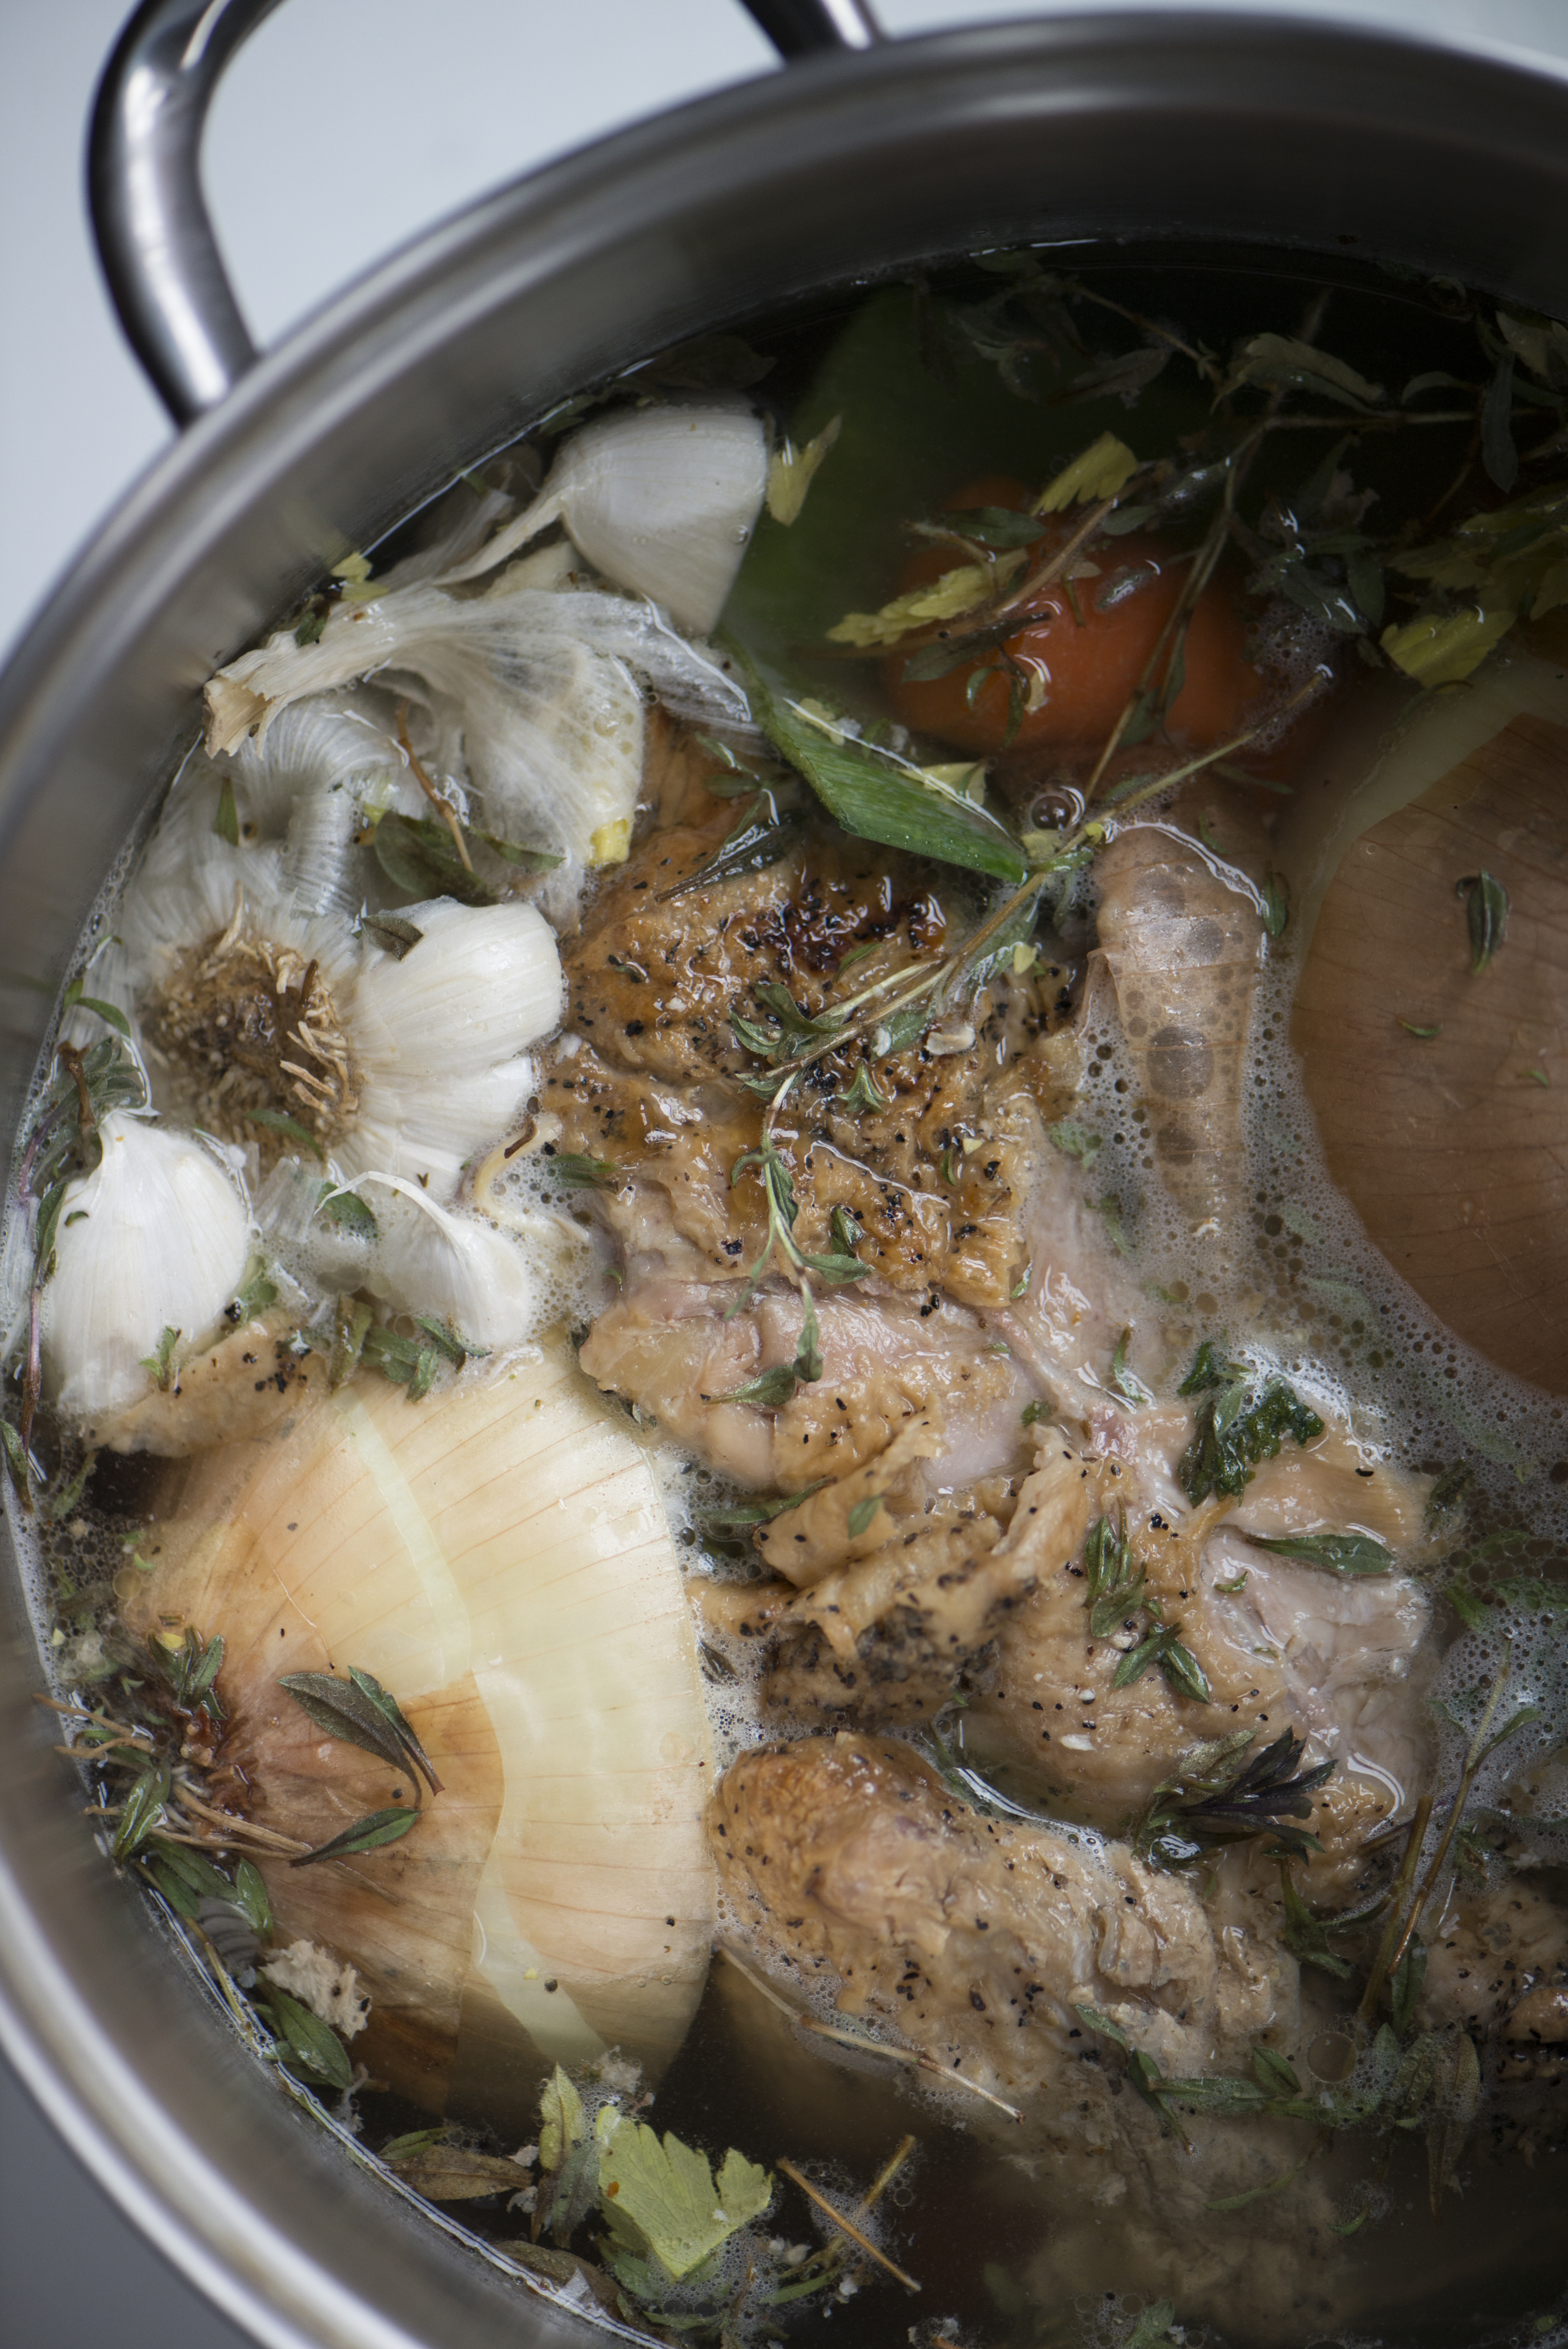
 A good homemade stock has become a staple in my kitchen. It is absolutely one of the foundations of flavor and health that makes food taste great, comforts and heals. I started making stock at home after I took a weeknight cooking class and realized how simple it actually is. Its also an opportunity to glean the nutrients and flavor from bones that we would otherwise be throwing away. Same goes for vegetables that are looking a little limp in the fridge – just throw them in the pot and pull out of them what you can.
Stocks and specifically bone broths are really helpful for people recovering from digestive issues. The collagen from the bones is a building block in recovering our intestinal integrity. The collagen extracted from the bones through the cooking process is what makes a concentrated bone broth gel, and gives it the deep flavor and smooth consistency that makes sauces and soups so good. I theorize that the real reason chicken noodle soup became the go-to for healing the sick is because the broth was so packed with healing proprieties (the garlic probably didn’t hurt either).
My recipe here is more of a bone broth than a stock. The main difference I can find is that a bone broth is cooked longer in order to get as much as possible out of the bones. The acid added to the water assists with extracting the collagen from the bones. Stocks seem to be as few as a 3-4 hour cook time. Bone broths are going to be more like a 12-24 hour cook time. If you do plan on letting your stock go for a full 24 hours, consider using a crock pot.
Trying to get it to gel? Just use less water. The broth will gel when the ratio of collagen to water is such that the water doesn’t just dilute it (think of a jello mix with too much water for the amount of gelatin – it just won’t set).
Like I said earlier, broths are a great way to use up veggies in the fridge that have started to go soft. Most veggies will work in stock. I’ve used pea pods, corncobs, all kinds of root veggie tops (radish, carrot, beet and turnip), leek tops, asparagus bottoms (the woody part you usually just throw away). Its nice to be able to use more parts of the vegetable and have a way to capitalize on it’s nutrient content. I avoid purple carrots and beets simply because I don’t love a purple stock. I also avoid the cruciferous family (kale, cauliflower, broccoli, brussel sprouts) because of the strong flavor they impart. Otherwise, most veggies and herbs are fair game, just be conscious of the flavor you are hoping for. On the flip side, if you are running low on veggies, make sure you at least have some onion.

A few notes:
- Add papers with the onions and garlic. No need to peel those off. Another way to capitalize on nutrient content in our veggies we usually wouldn’t get, and its way easier – score!
- I add some dried seaweed to my stocks. I like the salty flavor it adds and its alkalizing properties.
- Don’t salt the broth until after it is finished cooking. While it may assist the acid some in bringing the collagen out of the bones, the salt might become too concentrated as the water cooks off, so best to season it after so its not too salty.
- If you can avoid it, don’t microwave your broth to reheat it. That’s going to kill some of the micronutrients you worked so hard to make available.
- Stock freezes great. One trick is to put it into an ice cube tray and then keep the cubes in a bag once their frozen. You will always have a touch of stock on hand to deglaze a pan or add flavor to a dish.
- Breaking up the chicken when you add it to the pot will aid in extracting collagen.
- Lately I have been buying a rotisserie chicken from the grocery, stripping it to use the meat and then using the carcass to make stock. Make sure you look for a rotisserie without added sugar, wheat, dairy, etc. (you’d be surprised).
Two ideas for using your broth:
- Have it for breakfast! Starting your day out with this nutrient rich and hydrating broth is a great way to nourish your body for the day. Especially if you are cleansing or getting over a cold. Heat it up on the stove and add half a garlic clove!
- Reducing your stock makes a great pan sauce. Just add it in after removing your browned meat, and reduce by at least half. This is a super basic demi-glace. Tasty!


Katie Hamilton
Posted at 03:26h, 11 AprilYummy! I make a lot of homemade stock from leftover roasted chicken but an excited to try this longer cook time and the addition of seaweed. Thanks!
One other vegetable trick I love is to keep scraps frozen in a freezer bag. That way you can add to it as you have scraps or grumpy vegetables and save it for the day when you have the roasted chicken bones.
Caryn
Posted at 19:28h, 13 AprilLet me know what you think! Great tip on on freezing too, thanks!